Your first image
From a running Web UI to a finished picture.
If the Web UI isn't open yet, run ziv ui in a terminal and keep the terminal open; see Install.
What happens and how long
The first image downloads a model and loads it into memory, so it is the slowest; the job card shows each phase. Images are saved in the output folder, ~/.ziv/outputs unless you changed it, each with the settings it was made with. Nothing moving for a long time? See The first job seems stuck.
1. Pick a model
The first time, a welcome dialog offers an image model picked for your machine. Press Download; it becomes your default image model, and you can write your prompt while it downloads.
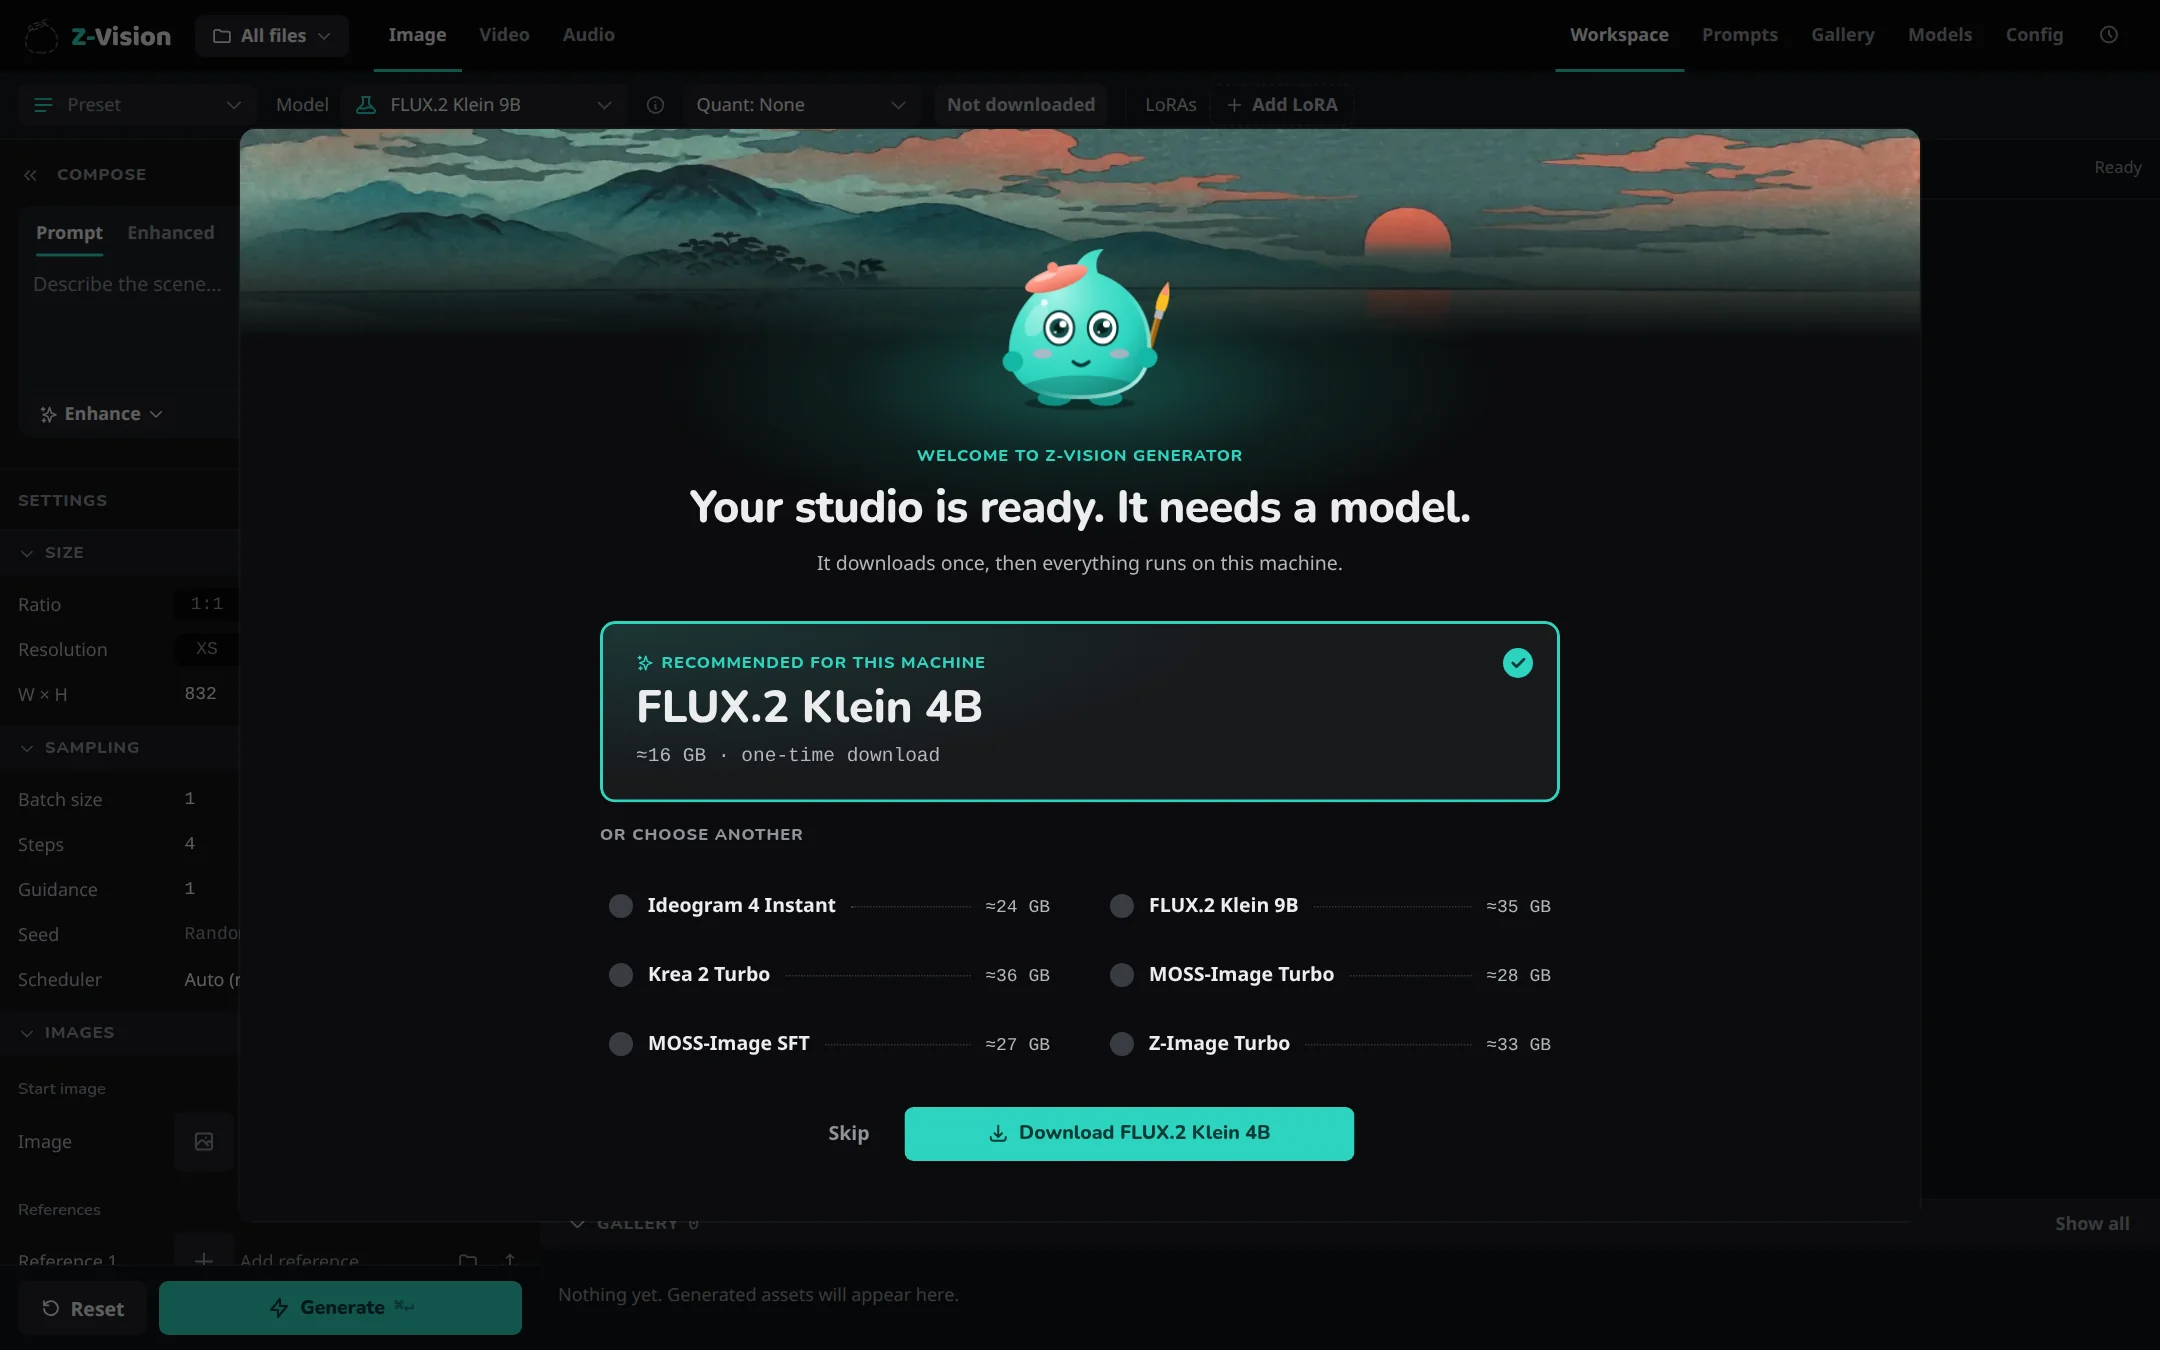
2. Write a prompt
Check that Image is selected in the top bar. Type what you want to see in the Prompt box under Compose:
Plain descriptions work best: the subject, where it is, the light, and how it's framed. Random choices and other tricks are in Prompt syntax.
On a phone: the prompt sits at the bottom of the screen, beside Generate. Tap it to type.
3. Generate
Press Generate, or Ctrl+Enter (Cmd+Enter on a Mac).
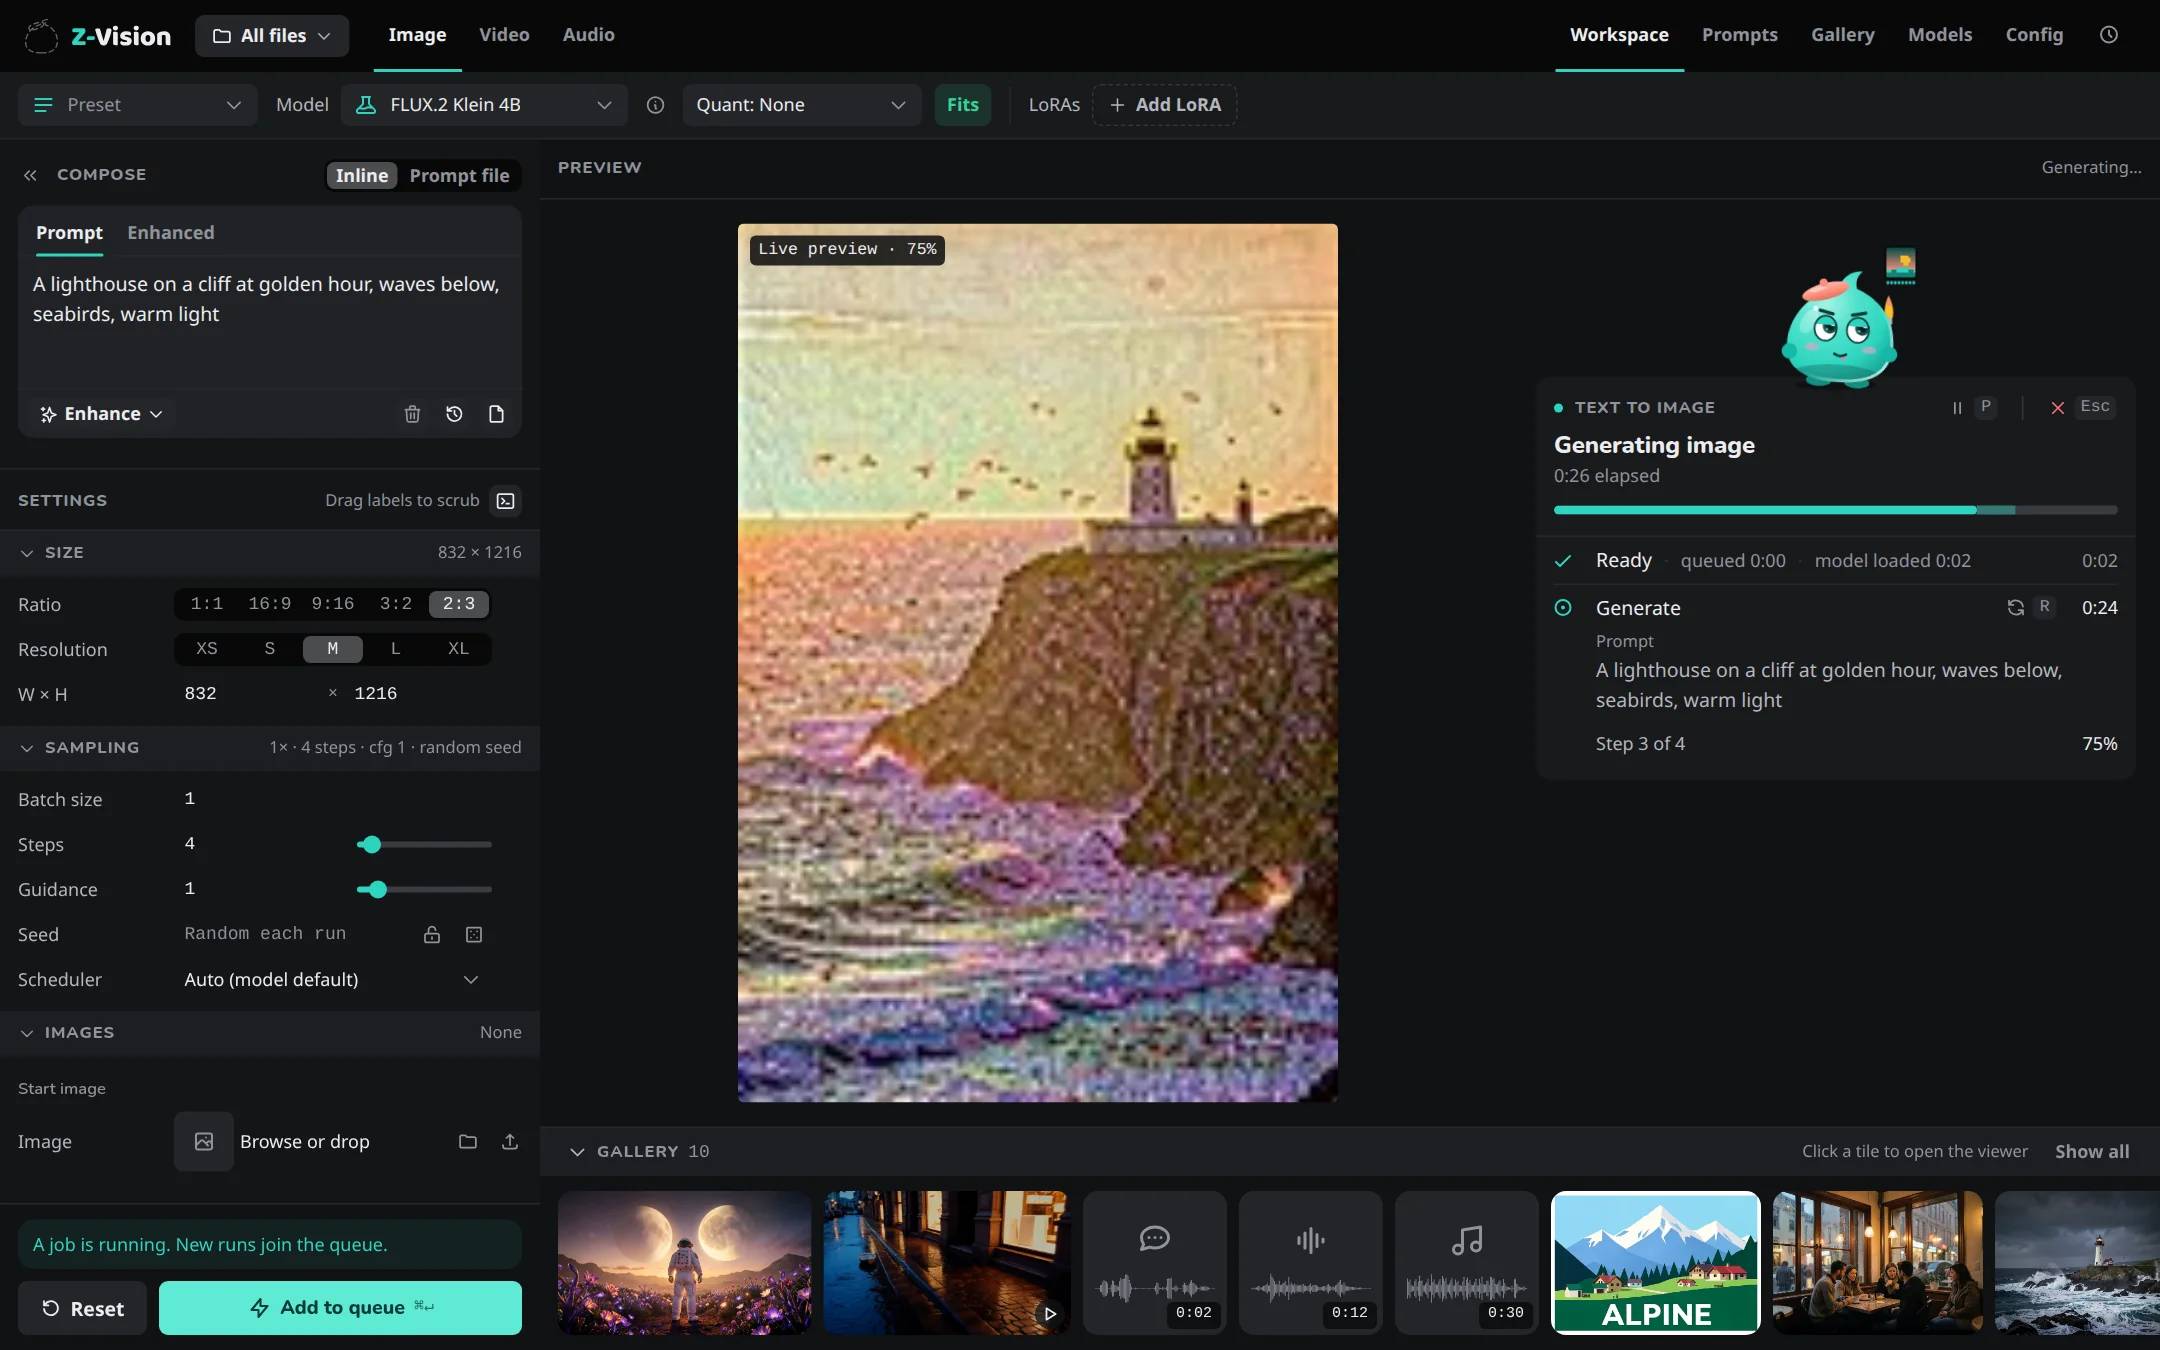
The job card shows each phase and how long it took. The preview shows the image taking shape after every step; it is only a preview and is never saved.
4. Look at the result
The finished image fills the preview and appears first in the Gallery strip. Click it to open the viewer, with its settings under Details; Reuse settings (R) loads them back into the Workspace. On a phone, tap the preview to open the viewer.
Next
- Let the model write the details: Prompt enhancer.
- Sizes, seeds and more: Make images and Get better results.
- Keep work together in a project.
- Prefer the terminal? Make images from the command line.